Your DIY Insulation Spray Foam Safety Kit & Cleanup Guide
Choosing to embark on a DIY spray foam insulation project offers several compelling reasons for consideration, such as exerting greater control in your home, satisfaction, cultivating skills, and, last but not least – the savings! You definitely can’t afford to have a professional come out to handle every single home job for you.
As an independent homeowner you decide to take care of it yourself. Before you set off on your endeavor, always remember – safety first! Before you embark on insulating your space, having a comprehensive safety kit is an absolute must when dealing with potentially hazardous chemicals. Make sure to check your insulation environment for potential obstacles and flammable or dangerous objects before you start. Whether you’re partial to wholesale spray foam insulation kits, spray cans, or specialized tools like a foam marker kit for your sprayer, we’ll set you right on your way to insulating your home in this guide.
Preparation and Protective Equipment
Let’s start with the protective equipment required for do it yourself spray foam kits:
- Safety Glasses/Goggles: Shield your eyes from potential splashes or overspray during the insulation process. Opt for durable safety glasses or goggles to keep your eyes protected.
- Nitrile Gloves: Guard your hands against the chemicals in the insulation with high-quality nitrile gloves. These gloves offer superior chemical resistance, ensuring your hands stay safe and comfortable throughout the project.
- Coveralls: Protect your skin and clothing with sturdy coveralls or workwear. Ensure they provide full coverage to prevent any exposure to the insulation material.
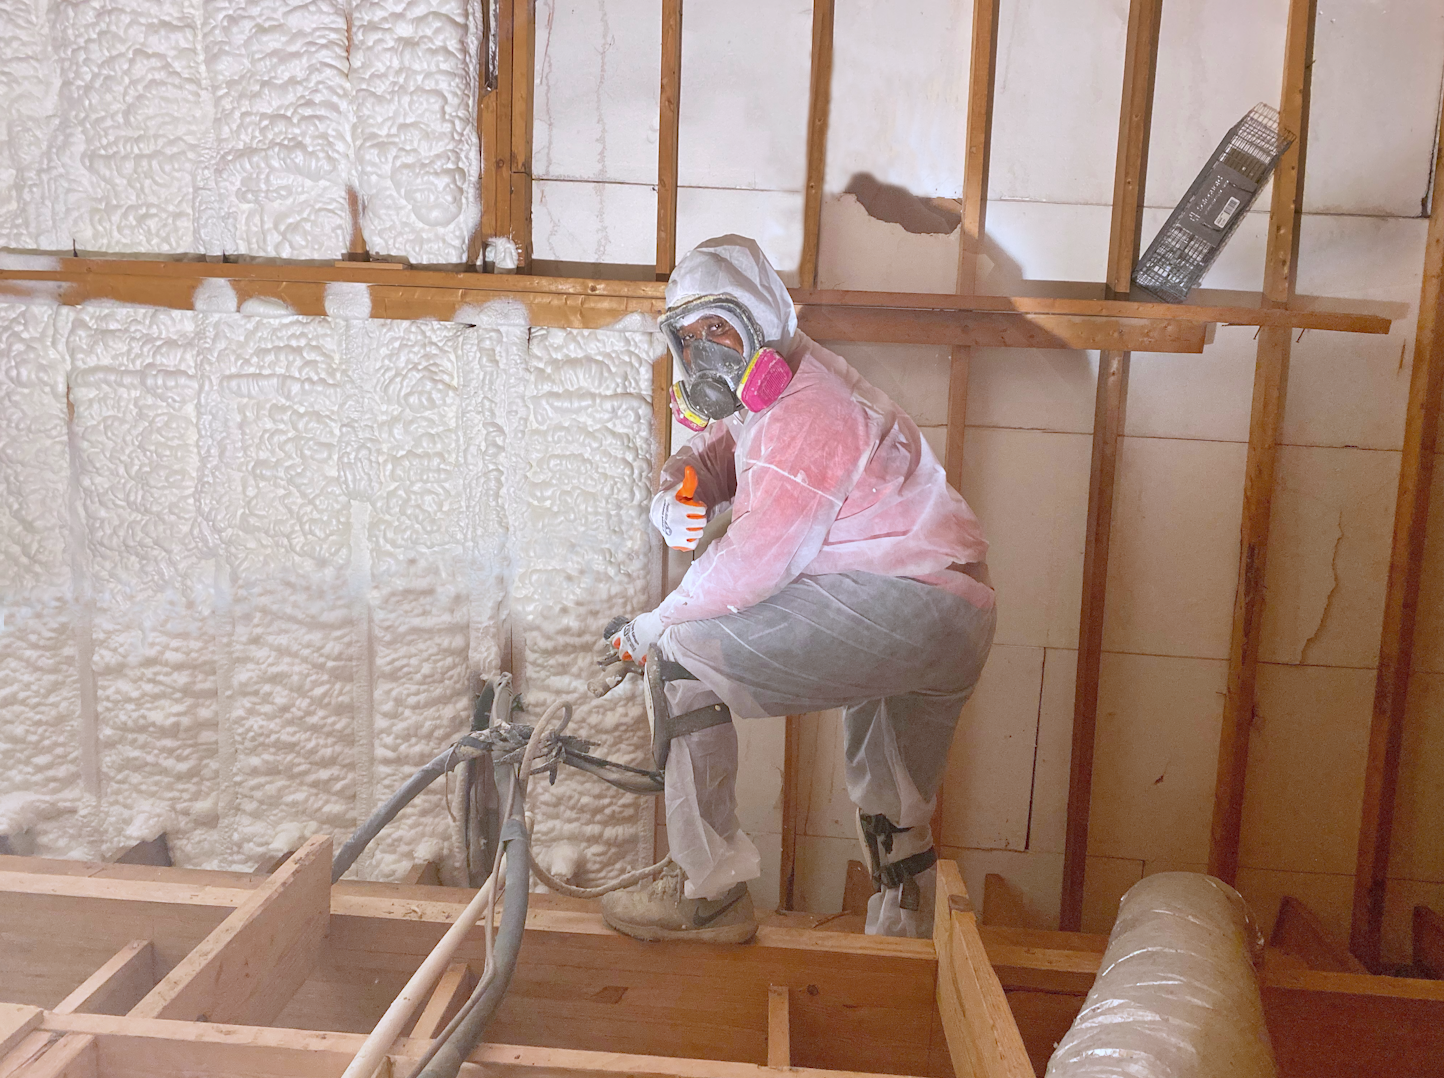
- Respirator: Safeguard your respiratory system from the harmful fumes and particles using a reliable respirator. Look for a respirator specifically designed to be used in a closed or open cell spray foam kit.
- Closed-Toe Shoes or Boots: Wear closed-toe shoes or boots with non-slip soles to protect your feet from accidental spills or splashes of spray foam insulation. Avoid wearing sandals or open-toe shoes that leave your feet exposed. If you’re going to be working somewhere with objects or potential hazards lying around, definitely choose boots.
- Head Covering: Wear a hat, cap, or hood to protect your head and hair from foam overspray and airborne particles. This is especially important if you have long hair or you’re working in a confined space.
- Long Pants and Sleeves: Opt for long pants and sleeves to provide additional coverage and protection against exposing your skin to foam insulation. This helps minimize the risk of irritation or allergic reactions, especially for individuals with sensitive skin.
- Safety Knife/Scissors: this will allow you to cut foam insulation cans and trim excess foam as needed for precision and efficiency.
- Plastic: Cover anything you don’t want spray foam on with plastic.
Optional:
- Ear Protection: If you’re sensitive to loud noise, consider wearing earplugs or earmuffs to protect your hearing.
- Knee Pads: If you’ll be working on your knees during the project, protect them with comfortable knee pads to avoid discomfort or potential injury
Dispose of or properly clean and sanitize all personal protective equipment (PPE) used during the insulation project, including your safety glasses or goggles, gloves, respirators, and coveralls.
Ventilation
You’ll need to leave the area afterwards so you need to air out your home as soon as you’re able. For that reason, before you start spraying, you’ll want to:
- Use a Ventilation Fan: this helps dissipate fumes and ensures a safer environment for insulation application.
- Open Your Windows/Doors: Also promotes fresh air flow.
Spray Foam Application
Here are some types of spraying equipment to choose from:
- Spray Foam Gun: A kit containing a foam gun can help minimize waste during your project.
- Foam Marker Kit: For the sprayer route, consider adding a foam marker kit to your arsenal. This accessory helps you track where the foam has been applied, ensuring even coverage and eliminating missed spots.
- Spray Foam Cans: spray foam cans, such as those offered by Ecothermix, are the most practical, economical, and easiest to apply. You have a lot on your mind as it is.
Application Technique
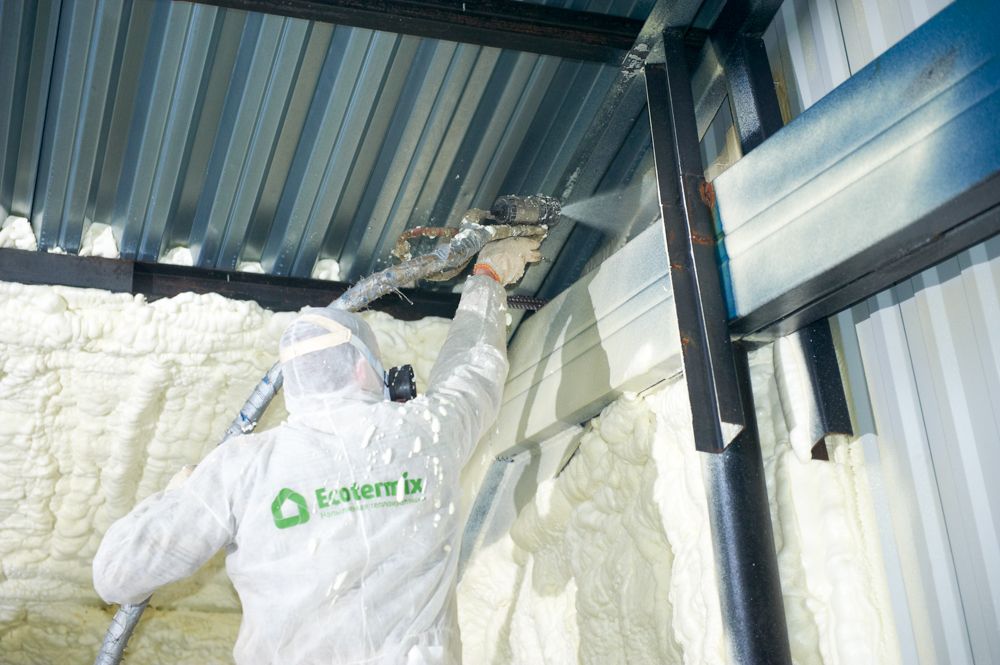
Commercial spray foam insulation kits and spray cans alike are very handy and efficient at covering every crack, crevice, and surface you need. Here is how to go about applying it:
- Begin with the Corners and Edges: Start spraying foam insulation in the corners and edges, ensuring that these critical, more challenging areas are properly sealed.
- Maintain Proper Distance: Hold the spray foam gun standing at least 12 to 18 inches away from your target. Maintaining the proper distance ensures even coverage and prevents over-application or excessive buildup.
- Apply in Thin Layers: Spray foam insulation expands rapidly upon application, so it’s essential to apply it in thin layers to prevent over-expansion and ensure proper curing. Avoid spraying too thickly in a single pass, as this can lead to uneven insulation and potential issues with adhesion.
- Overlap Passes: When spraying successive layers of foam, overlap each pass slightly to ensure complete coverage and create a seamless insulation barrier. Pay special attention to areas with gaps or voids, ensuring they are adequately filled to maximize insulation effectiveness.
- Work in Sections: Divide larger surfaces into manageable sections and focus on one area at a time to ensure thorough coverage and consistent application. Take breaks as needed to allow the foam to expand before proceeding to the next section, as dealing with a 1200 board foot area may take closed cell spray foam kits a while, as with any materials.
Cleanup
After using spray foam insulation kits, whether in a 1000 sq ft to 3000 sq ft area, there are several steps that are important to follow it up with to ensure proper cleanup, safety, and maintenance. Here’s what to do after you’re done spraying the insulation:
- Allow the Foam to Cure: Allow the spray foam insulation to cure completely according to the manufacturer’s instructions before proceeding with cleanup or any further activities. Wait for the foam to expand, solidify, and form a stable insulation barrier. This will take 24 to 48 hours for open cell spray foam, or up to 72 hours for closed cell spray foam.
- Inspect the Work Area: Once the foam has cured, carefully inspect the entire work area to ensure that all intended surfaces are adequately insulated and that there are no missed spots, gaps, or irregularities in the foam’s application.
- Trim Excess Foam: Use a utility knife, saw, or foam trimmer to carefully trim any excess foam you left with your sprayer foam marker kit and can. Trim the foam flush with the surrounding surfaces to achieve a neat and uniform appearance.
- Dispose of Waste Properly: Dispose of any unused spray foam insulation, empty containers, and waste materials according to local regulations and manufacturer guidelines. Some foam insulation products can be recycled while other types may require special disposal methods.
- Clean the Equipment: Thoroughly clean and rinse your whole closed or open cell spray insulation kit, including the spray gun, hoses, and nozzles, immediately after use to prevent the foam from curing and clogging the equipment. Follow the manufacturer’s instructions to ensure proper cleaning procedures.
- Store Any Remaining Materials: store partially used cans or unused components in a cool, dry place away from direct sunlight and heat sources. Seal containers tightly to prevent moisture ingress and premature curing of the foam.
- Continue to Ventilate the Area: Open windows and doors, use exhaust fans, or employ air purifiers to improve indoor air quality and promote fresh air circulation until all foams and odors left by the foam kit for the sprayer job are gone.
Ecothermix
Now you’re all ready for your brand-new insulated home. At Ecothermix, we provide the most innovative, ecologically friendly, practical, and portable spray foam cans around. You can easily take them with you into your bedroom, areas full of obstacles, into the basement, up to the attic, wherever you need! Give them a try today.
As for preparing to perform your insulation, don’t forget to always be super careful, as with any home project. Make sure to strictly follow the safety guidelines and refer to your spray foam manufacturer’s instructions, and last but not least, have a blast!
.[/fusion_text]